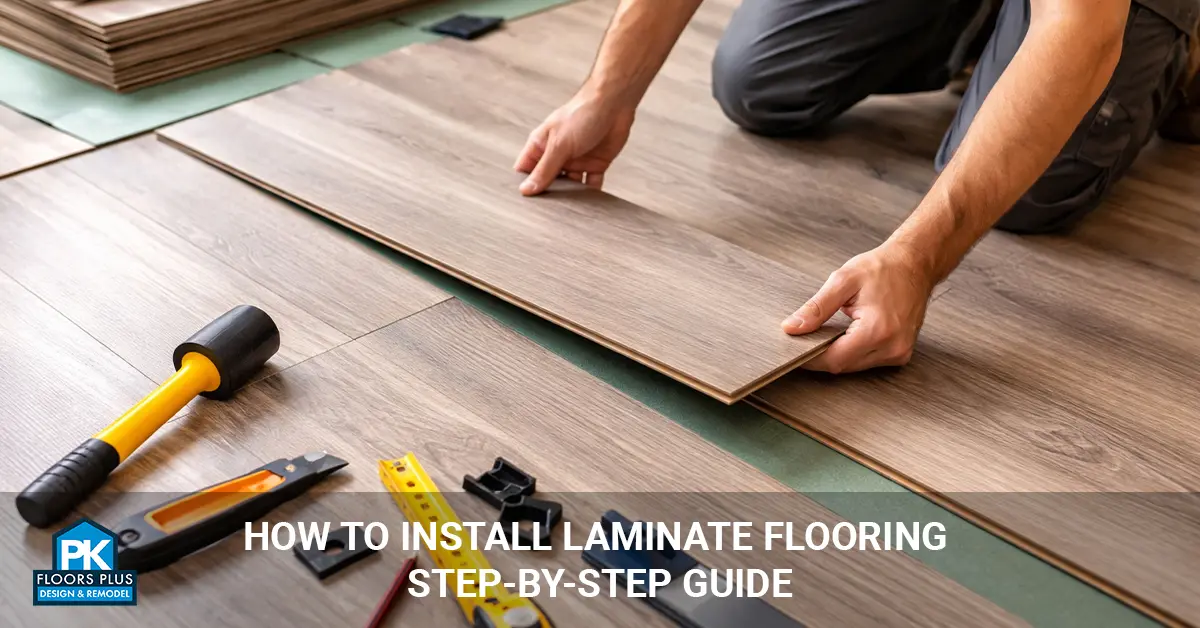
Installing laminate flooring is easy because the planks simply click together and float over your subfloor without glue or nails. That’s what makes laminate one of the most DIY-friendly flooring options for homeowners. You only need a few basic tools, some preparation, and a little patience to get a clean, professional-looking result.
In this step-by-step guide, you’ll learn everything you need from prepping your subfloor to snapping in the final plank so you can install your new floor with confidence.
Can You Install Laminate Flooring Yourself?
Yes, you can install laminate flooring yourself because it’s designed with a simple floating floor system that snaps together easily. The planks lock into place without nails or glue, so even beginners can handle the project with confidence. Most homeowners can complete a standard room in just a few hours, making laminate one of the easiest and most DIY-friendly flooring options available.
Tools and Materials You Need Before Installing Laminate
You need a few basic tools and materials to install laminate flooring smoothly and get professional-looking results. Having everything ready before you start will make the installation faster and much easier.
Tools You’ll Need
- Tape measure
- Utility knife
- Spacers
- Rubber mallet
- Pull bar
- Jigsaw or circular saw
- Level
- Pencil
- Safety glasses
These simple tools help you measure, cut, and lock the planks into place with ease.
Materials Required
- Laminate flooring planks
- Underlayment (unless the planks have attached padding)
- Moisture barrier (needed over concrete)
- Transition strips
- Trim or quarter-round molding
- Tape for securing underlayment
Having the right materials ensures your floor is stable, quiet, and protected from moisture.
Preparing the Subfloor (The Most Important Step)
Preparing the subfloor is the most important step because laminate flooring can only lock together properly on a smooth, clean, and level surface. If the subfloor isn’t ready, you may end up with gaps, squeaks, or damaged planks later.
Here’s what you need to do before installing laminate:
- Remove old flooring if necessary
- Clean away dust, debris, glue, and staples
- Check for moisture if you’re working over concrete
- Make sure the floor is level within 3⁄16″ over 10 feet
- Fix any dips, bumps, or uneven spots
- Let your laminate planks acclimate for 48 hours in the room
Taking your time with this step protects your investment and helps your new floor last for many years.
How to Install Underlayment
Underlayment is important because it adds sound absorption, comfort, and moisture protection under your laminate floor. If your laminate planks already have attached padding, you can skip this step.
Here’s how to install underlayment correctly:
- Roll it out across the entire subfloor
- Keep the edges tight and avoid overlapping pieces
- Tape the seams to hold everything in place
- Lay it in the same direction you’ll install the planks
- Add a moisture barrier if you’re installing over concrete
Once the underlayment is installed smoothly, you’re ready to start laying your laminate flooring.
Step-by-Step: How to Install Laminate Flooring
Installing laminate flooring is easy when you follow each step in the right order. These steps will help you achieve a clean, professional-looking finish.
Step 1: Plan Your Layout
You should start by planning your layout because it ensures the floor looks balanced and natural. Choose the longest, straightest wall as your starting point. Stagger each row by 6–8 inches so the seams don’t line up. This creates a more realistic wood floor pattern.
Step 2: Add Spacers for the Expansion Gap
You need to add ¼-inch spacers between the planks and the wall to allow for expansion. Laminate flooring expands and contracts with temperature changes, and this small gap prevents buckling or lifting later.
Step 3: Install the First Row
The first row sets the foundation, so take your time getting it straight. Lay the planks with the tongue side facing the wall and snap each piece together end to end.
Cut the last plank to fit while keeping the expansion gap intact.
Step 4: Install the Remaining Rows
Each new row should be angled into the previous one, then pressed down to lock into place. Use a pull bar or rubber mallet if you’re working in a tight area.
Keep the seams staggered and tight. This makes the floor stronger and better looking.
Step 5: Cut Planks Around Doorways and Obstacles
You’ll need to cut some planks to fit around door frames, vents, and pipes. A jigsaw works best for these shapes. For a cleaner finish, undercut door jambs so the planks can slide underneath for a seamless look.
Step 6: Install the Final Row
The last row usually requires careful measuring and smaller cuts. Use a pull bar to snap the final row into place since the space will be tight. Keep your expansion gap consistent along the wall.
Step 7: Remove Spacers & Install Trim
After all the planks are installed, remove the spacers around the edges. Add baseboards or quarter-round molding to cover the expansion gap, and install transition strips between different flooring types. Once the trim is in place, your new laminate floor is officially finished!
Installing Laminate on Stairs
Installing laminate on stairs is different from installing it on a flat floor because each plank must be glued down instead of floating. This method keeps the planks secure and prevents movement when walking up and down the stairs.
Here’s what you’ll need:
- Stair nose pieces
- Construction adhesive
- Finish nails
- Precise, carefully measured cuts for each step
Laminate on stairs takes more time and attention to detail, but the result is a durable, modern-looking staircase that blends perfectly with the rest of your flooring.
Common Mistakes to Avoid
You can avoid most installation problems by steering clear of a few common mistakes that often cause issues later. Paying attention to these details will help your laminate floor last longer and look better.
Here are the mistakes to watch out for:
- Not acclimating the planks before installation
- Skipping the moisture barrier when installing over concrete
- Forgetting the expansion gap, which can cause buckling
- Starting with a crooked first row, making every row uneven
- Using steam mops, which can damage laminate
- Overlapping underlayment sheets, which makes the floor uneven
Avoiding these mistakes saves time and helps prevent squeaks, gaps, or warping in the future. If you want to avoid these problems completely, read our guide on common laminate flooring installation mistakes before you start.
If you want to avoid these problems completely, read our guide on common laminate flooring installation mistakes before you start.
How Long Does Laminate Installation Take?
Laminate installation usually takes about 4–8 hours for an average-sized room, making it one of the quickest flooring projects for DIYers. Experienced installers may finish even faster, while rooms with closets, angles, or tight spaces can take a bit longer.
Overall, most homeowners can complete a single room in one day.
Cleaning and Maintaining Your New Laminate Floor
Laminate flooring is easy to clean and maintain because it only needs simple, everyday care to stay looking new. With the right routine, your floor will stay beautiful and durable for many years.
Here’s how to maintain it properly:
- Sweep or vacuum regularly to remove dust and grit
- Use a damp microfiber mop, never a soaking wet one
- Avoid steam mops, which can damage the laminate
- Clean spills as soon as they happen
- Add furniture pads to prevent scratches
With just a little attention, your laminate floor will stay clean, shiny, and in great condition. For a deeper routine and product tips, see our full guide on how to clean laminate flooring properly.
Final Thoughts
Installing laminate flooring is a simple DIY project that can refresh an entire room without the cost of professional labor. With the right tools, some preparation, and the step-by-step process in this guide, you can get a beautiful, professional-looking floor on your own. Whether you’re upgrading a single space or tackling your whole home, laminate flooring offers a stylish, durable, and budget-friendly way to transform your interior.